
0105
Rhinoplasty
Rhinoplasty
Designs a natural nose line in proportion to the whole face
| Surgery time | Anesthesia | Suture removal | Daily life |
|---|---|---|---|
| 2 hours | Sedation | after 5–7 days | after 5–7 days |
Same-day discharge · 2–3 follow-up visits · recovery may be longer with osteotomy
WHAT IS RHINOPLASTY
Angle over height, harmony over angle
Rhinoplasty is a surgery that shapes the nose to fit the proportion and angle of the whole face. The measure of a nose is not its height but its proportion and angle within the face.
We don't transplant numbers. We first find where your nose belongs on the line from forehead to chin.

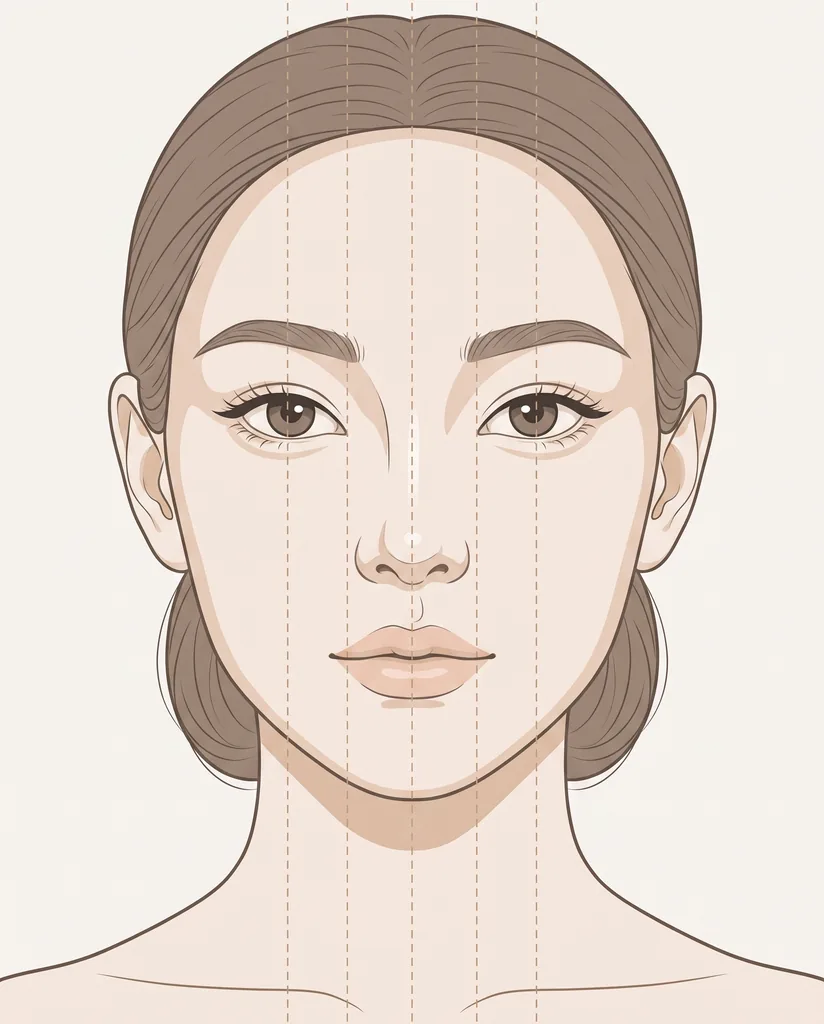

IDEAL RATIO
Not numbers alone — proportion and angle
Diagrams to aid understanding. The figures are reference points, judged within the whole face.
Front — one fifth of the face
Of five vertical parts the nose takes one fifth, its width close to the distance between the eyes.
Profile — the angles
A nasolabial angle of 95–105˚; for men, a gentle straight bridge angle of 140–150˚.
- +Front — one fifth of the face
- +Nasolabial angle 95–105˚
- +Bridge angle 140–150˚
BY TYPE
The approach differs by type of nose
Representative types and approaches. The actual method is confirmed after diagnosis at consultation.
Short nose · upturned nose
Nostrils show from the front. Septal or ear cartilage is added to lengthen it, or the cartilage is released and moved down to fit the face.
Deviated nose
Often follows trauma, sometimes with nasal obstruction. Mild cases use a dorsal implant; severe cases combine septoplasty and osteotomy. If it cannot become fully straight, we say so in advance.
Wide nose
The nasal bones spread sideways. They are drawn inward to narrow the width, then the tip and nostrils are refined into one line.
Hump nose
The middle of the bridge rises. The protruding bone and cartilage are refined, with osteotomy and correction together to prevent recurrence.
When osteotomy is needed
Lateral osteotomy draws the nasal bones to the centre and narrows the width. Added for wide, deviated and hump noses; recovery tends to be longer.
Male rhinoplasty
A gentle straight line from bridge to tip without lifting the tip. Bridge angle 140–150˚ and nasolabial angle 95–105˚ are the reference; secret bridge rhinoplasty (bridge only) takes about 1 hour.
PROCESS
The rhinoplasty procedure
The common flow for a wide or hump nose; steps change with the type.
Tip · bridge refinement
Tip fat and cartilage are refined, or a raised bridge smoothed and a deviated axis straightened.
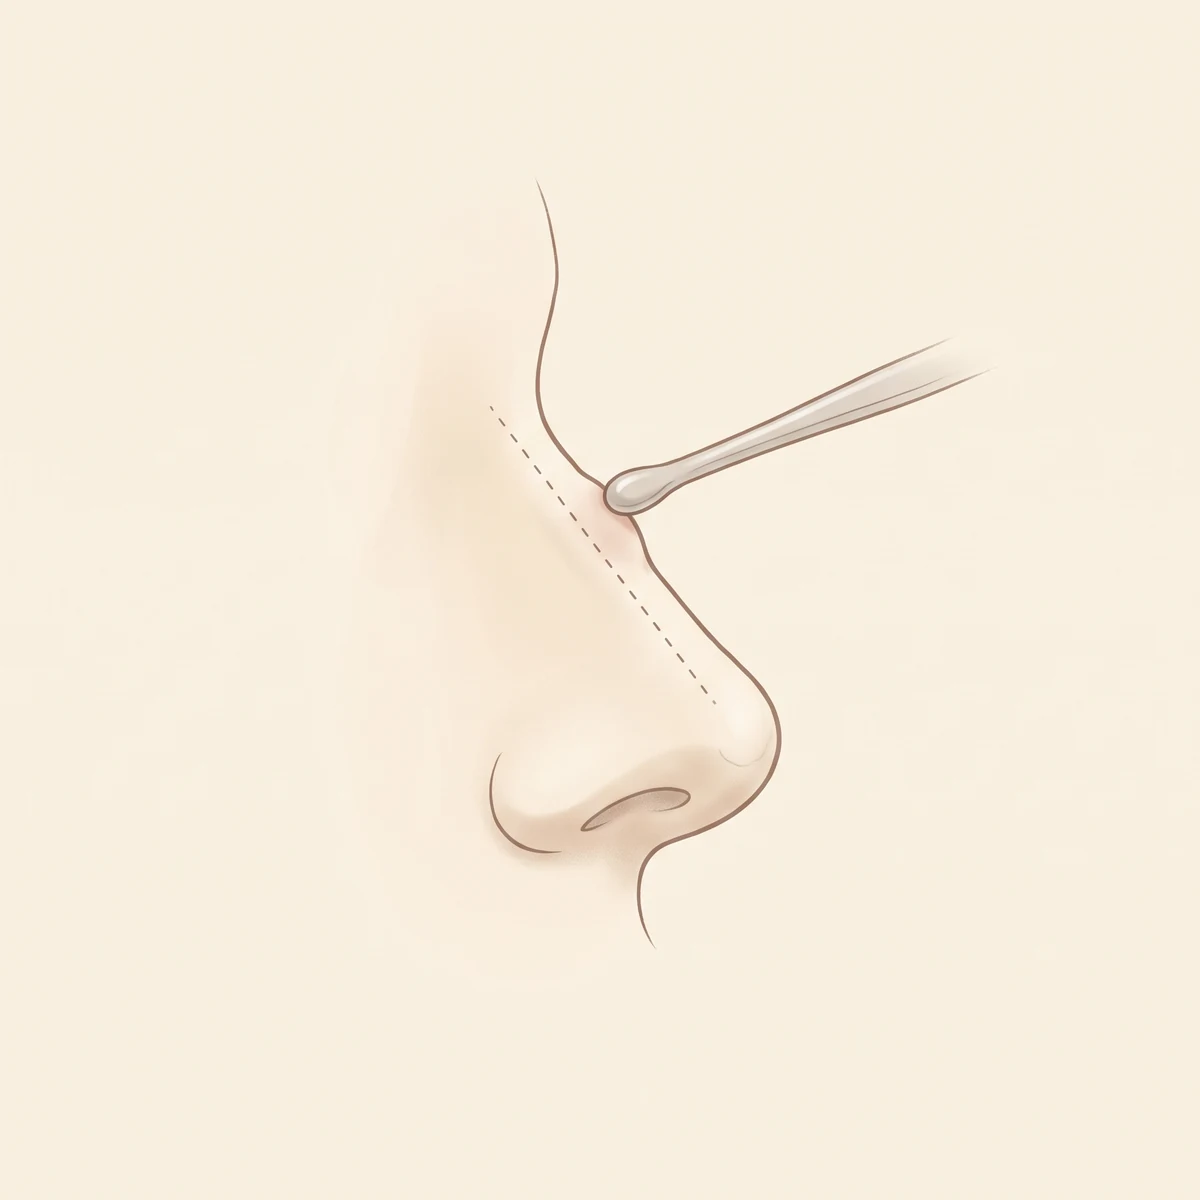
Incision
A closed or open incision where the scar will not show.
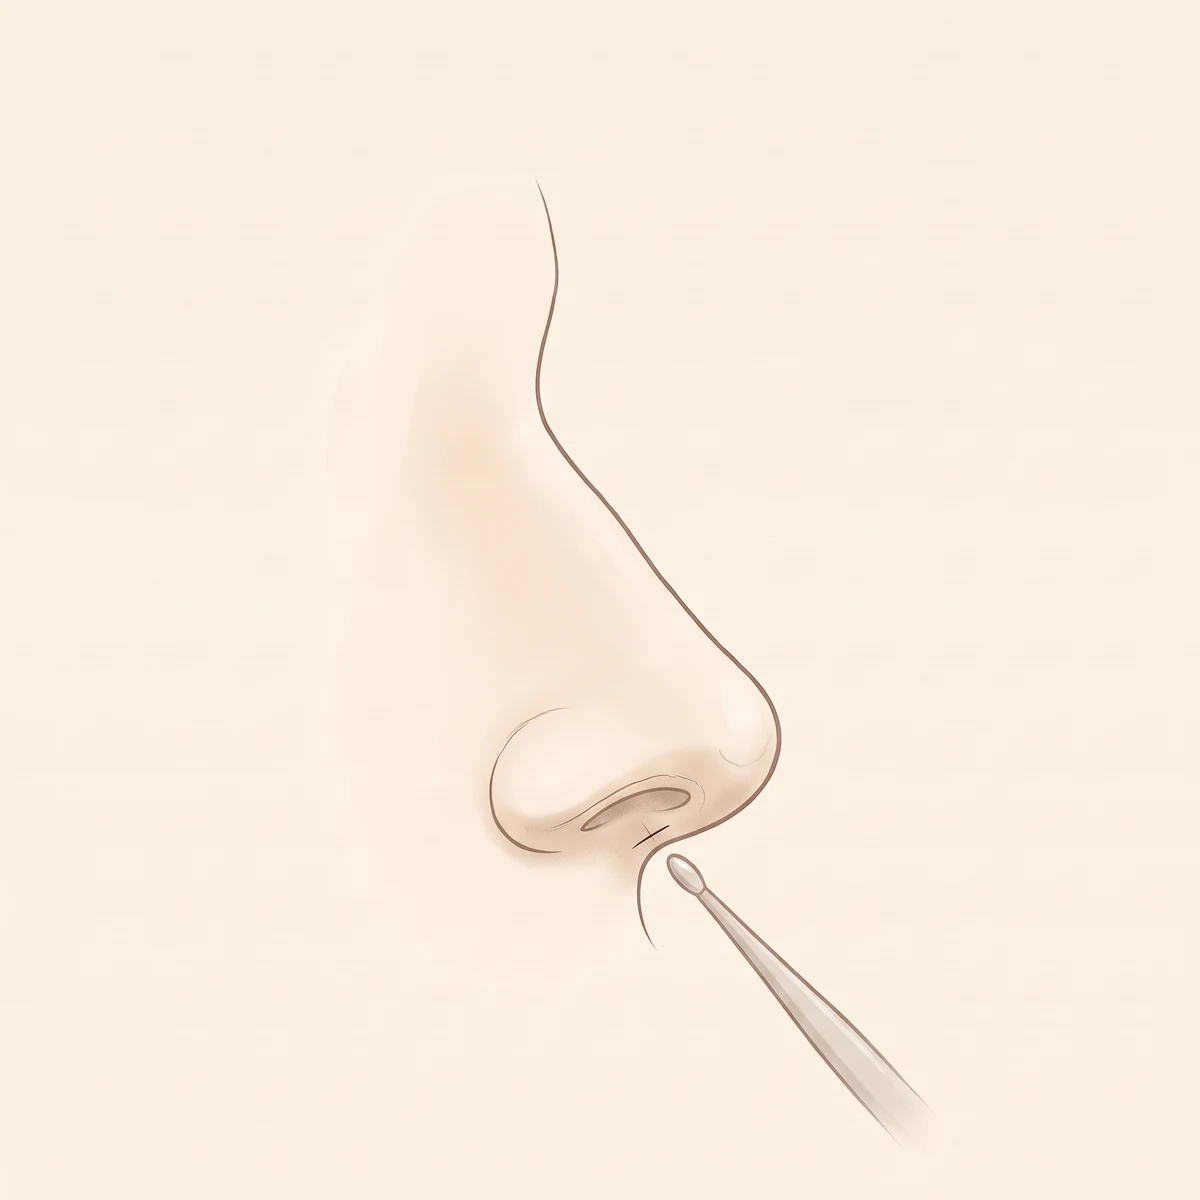
Implant · tip shaping
The custom implant is placed precisely and the tip shaped with autologous tissue or cartilage.
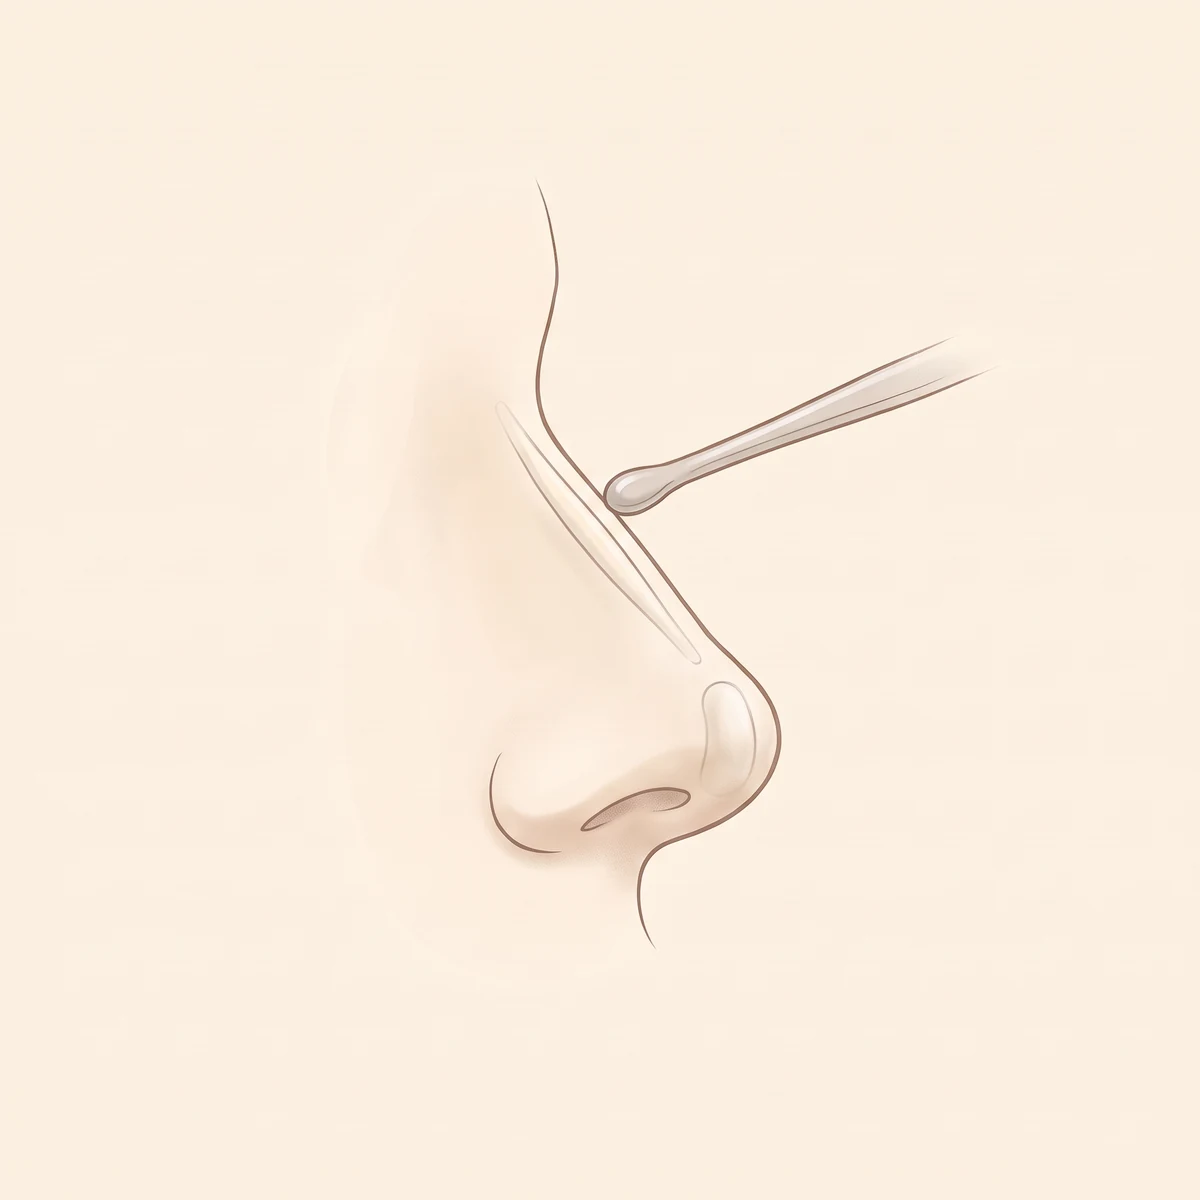
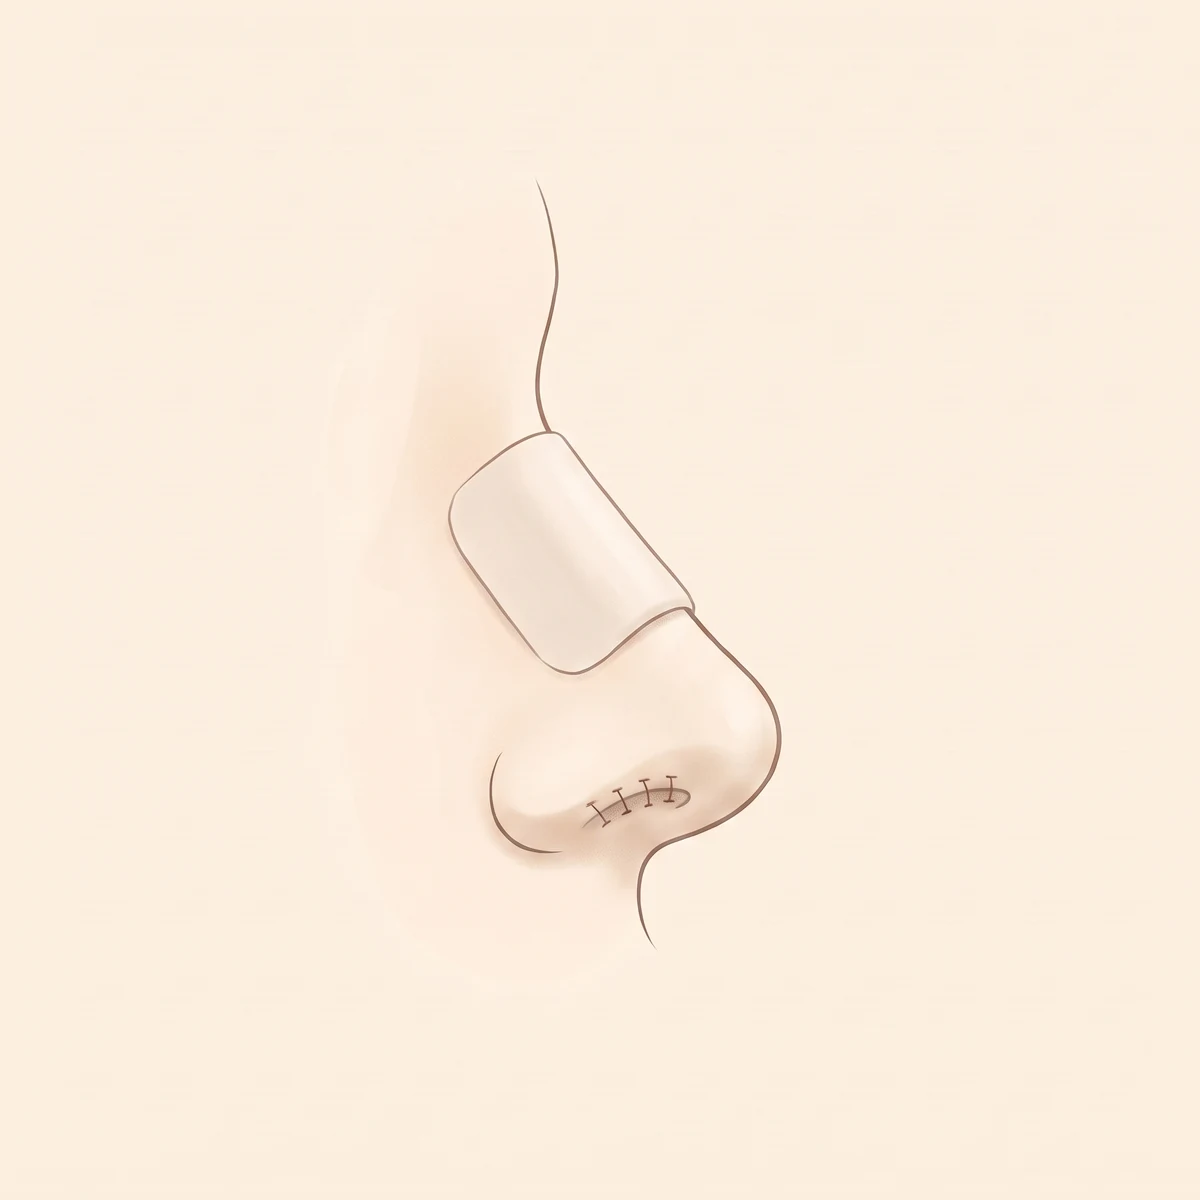
Closure · follow-up
Fine closure completes the line from bridge to tip, with progress checked at your visits.
RECOMMENDED
If this sounds familiar, rhinoplasty comes first
- A short nose with nostrils showing from the front
- A nose that looks deviated or is often blocked
- Spread nasal bones and a wide bridge
- A hump in the middle of the bridge
- A tip lifted or shortened by impact or a previous surgery

AFTERCARE
Recovery guide
- Day of surgerySame-day discharge
Home without a hospital stay
- 5–7 daysSuture removal
Incision checked
- After suturesDaily activities
Light daily activities begin
- AfterwardsFollow-up
2–3 visits
With osteotomy recovery may take longer, and the pace varies by individual.
0205
Autologous Rhinoplasty
Autologous Rhinoplasty
Builds a safe, natural nose with your own tissue
| Surgery time | Anesthesia | Suture removal | Daily life |
|---|---|---|---|
| approx. 2–5 hours | Sedation | Explained at consultation | Explained at consultation |
Same-day discharge · 3 follow-up visits · recovery depends on the harvest site, explained at consultation
WHAT IS AUTOLOGOUS DERMIS
Building your nose with your own body's tissue
Autologous rhinoplasty is a surgery that grafts your own thick dermis, harvested from the buttock area, into the nose instead of an artificial implant.
Its elasticity keeps it from spreading sideways; depending on dermal thickness, fat is used alongside.

MATERIALS
The types of autologous tissue DIVA uses
Dermis, fascia and fat here; cartilage under implant-free rhinoplasty.
Autologous dermis
Thick dermis-fat from the buttock area reinforces the bridge and tip. Its elasticity keeps it from spreading sideways.
Temporal fascia
Thin fascia from the temple. Wrapped around an implant, it softens show-through and angular edges.
Autologous fat
Harvested from the abdomen or thigh to reinforce a low bridge. Can be added with the silicone left in place.
Cartilage
Support and shape for the tip. Combined with dermis; detailed under implant-free rhinoplasty.
WHY AUTOLOGOUS
Why autologous tissue fits well
- 01
Compatibility with the body
Your own tissue settles stably. Considered first for those averse to implants or with thin skin.
- 02
A soft feel
A natural feel instead of a hard foreign body; less show-through and angularity.
- 03
Combined to suit thickness
Dermis alone, dermis plus fat, or fascia wrapped around an implant, only as much as needed.
- 04
Function too
If a deviated septum makes breathing uncomfortable, methods using septal cartilage are reviewed alongside.
Filler lasts briefly; an implant may show through or inflame; autologous tissue is highly compatible but needs a harvest site and a longer surgery.
PROCESS
The autologous dermis procedure
Harvest → design → graft, every step by the director personally.
Tissue selection · harvest
The suitable tissue is chosen and harvested, and the site closed precisely.
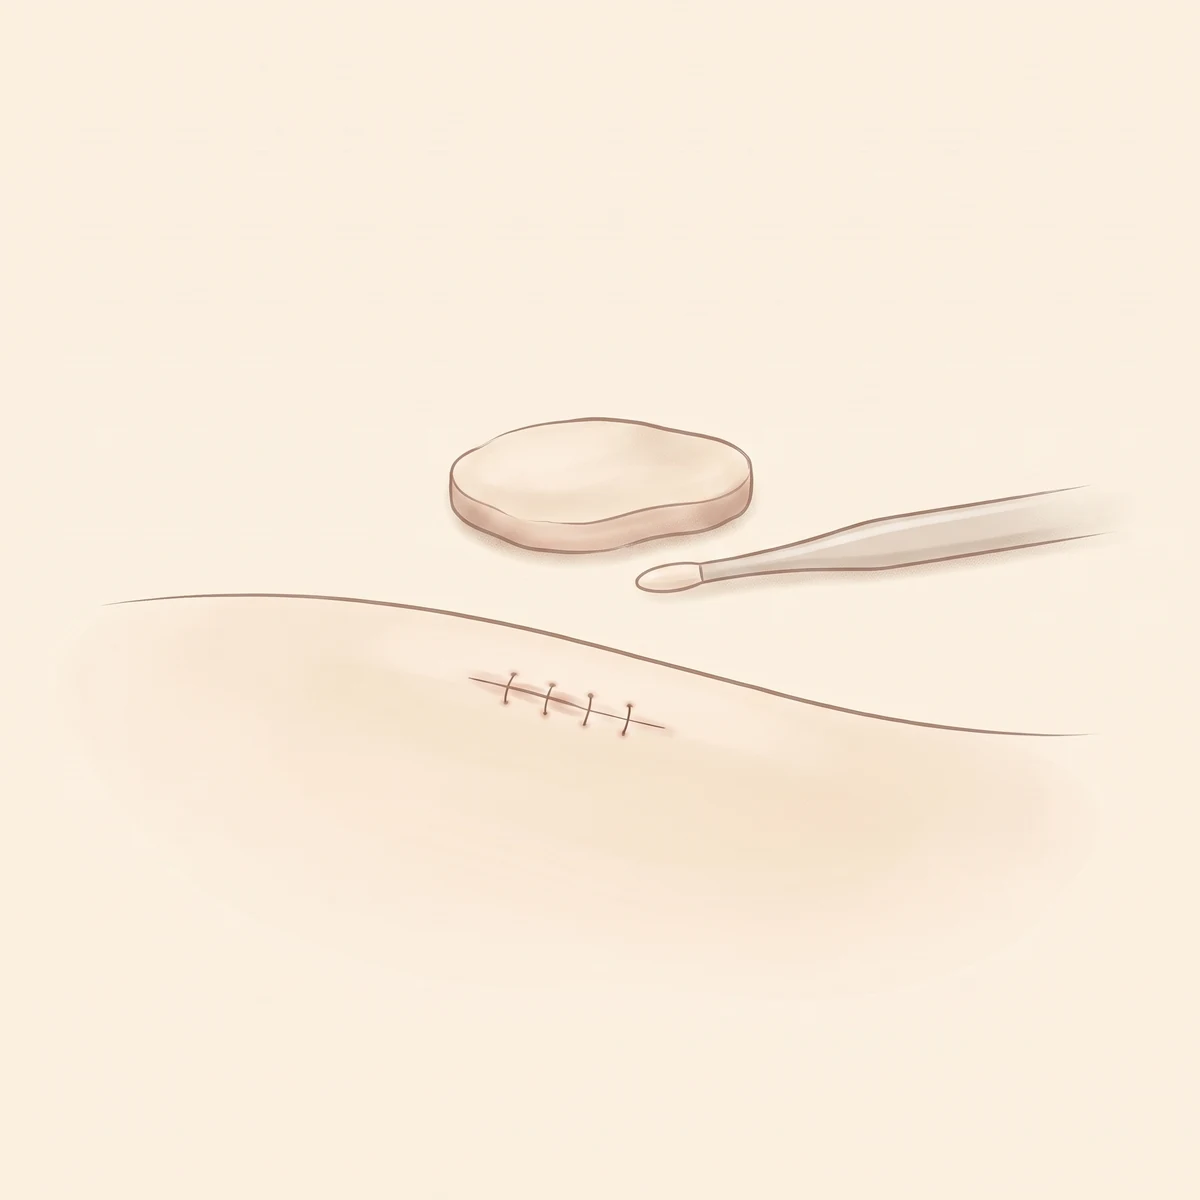
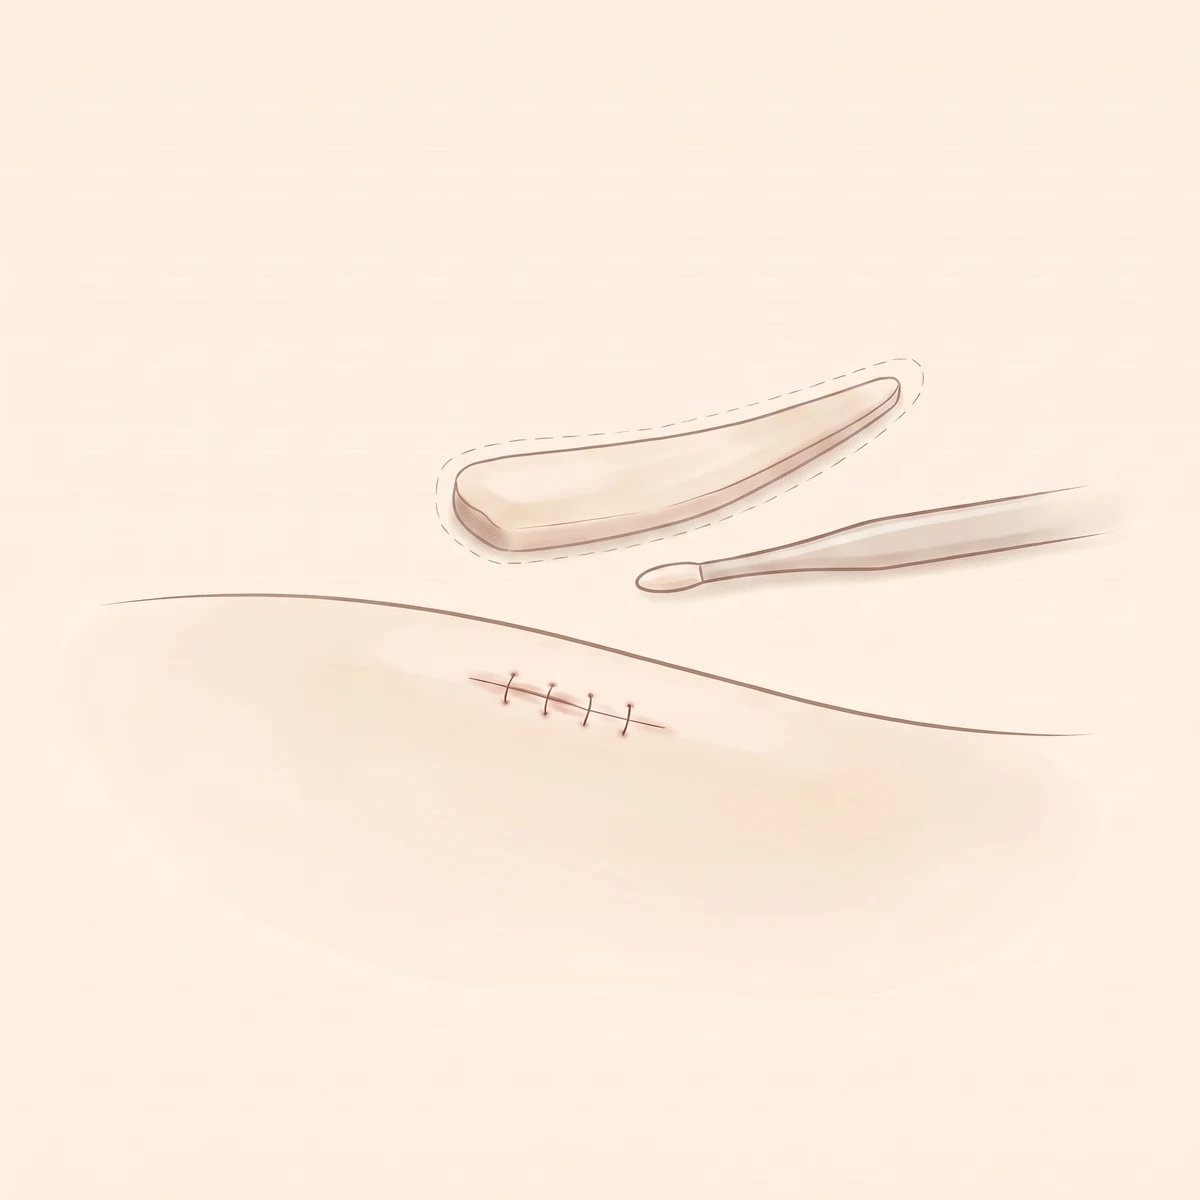
Autologous graft design
The tissue is shaped and trimmed in thickness to form your own graft.
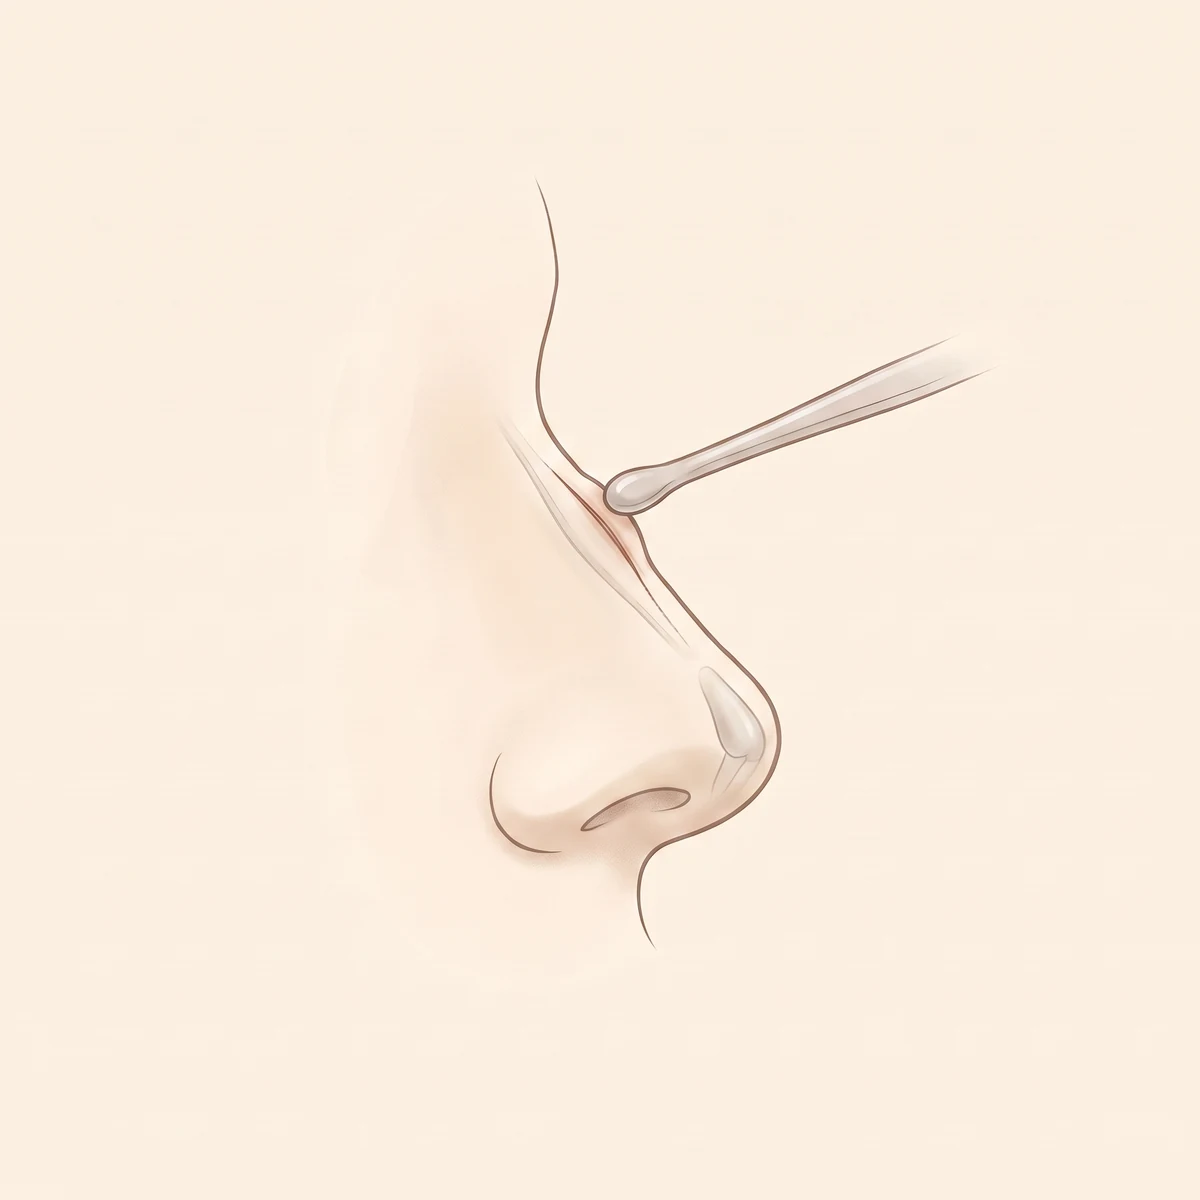
Incision · dissection · graft
The graft is placed after incision and dissection, with cartilage supporting the tip as needed.
Closure · dressing
Home the same day after closure and dressing, with 3 follow-up visits.
RECOMMENDED
If this sounds familiar, autologous dermis rhinoplasty comes first
- Aversion to artificial implants
- Worry about implant side effects
- Skin so thin an implant might show through
- A low bridge that makes the face look flat
- A low, bulbous tip
AFTERCARE
Recovery guide
- Day of surgerySame-day discharge
Home after closure and dressing
- Harvest siteClosure check
Buttock or other harvest site checked
- Recovery periodExplained at consultation
Depends on tissue and harvest site
- AfterwardsFollow-up
3 visits
The expected schedule for the nose and the harvest site is explained at consultation.
0305
Implant-free Rhinoplasty
Implant-free Rhinoplasty
Corrects the nose with your own tissue only, without an implant
| Surgery time | Anesthesia | Suture removal | Daily life |
|---|---|---|---|
| approx. 2–5 hours | Sedation | Explained at consultation | Explained at consultation |
Same-day discharge · 3 follow-up visits · recovery depends on the cartilage harvest site, explained at consultation
IMPLANT-FREE RHINOPLASTY
No implant, cartilage and your own tissue only
Implant-free rhinoplasty is a surgery that builds the bridge and tip of the nose from your own tissue only, septal, ear or rib cartilage plus dermis and fat, with no silicone implant.
Comparatively free of implant show-through and inflammation, but it needs a harvest site, so we weigh the pros and cons together.

CARTILAGE
Three cartilages that build the tip
Cartilage builds the tip's support; dermis or fat reinforces the bridge.
Septal cartilage
Highly compatible, harvested inside the nostril so there is no outer scar. Used mainly for the tip's support; septal deviation can be corrected at the same time.
Ear cartilage
Soft and curved, giving the tip a natural shape. Elastic, with little foreign-body feel.
Rib cartilage
Firm and plentiful. Used when septal cartilage is insufficient, for contracture revision and a low bridge.
WHY IMPLANT-FREE
What implant-free rhinoplasty offers
- 01
Free of implant problems
Capsule, show-through, movement and inflammation are avoided from the start.
- 02
Natural feel and movement
Your own tissue: little foreign-body feel to the touch, and expressions stay natural.
- 03
Different materials for tip and bridge
Cartilage for the tip, dermis or fat for the bridge, the tissue that suits each area.
- 04
Together with function
Septal deviation can be corrected while harvesting septal cartilage.
PROCESS
The implant-free rhinoplasty procedure
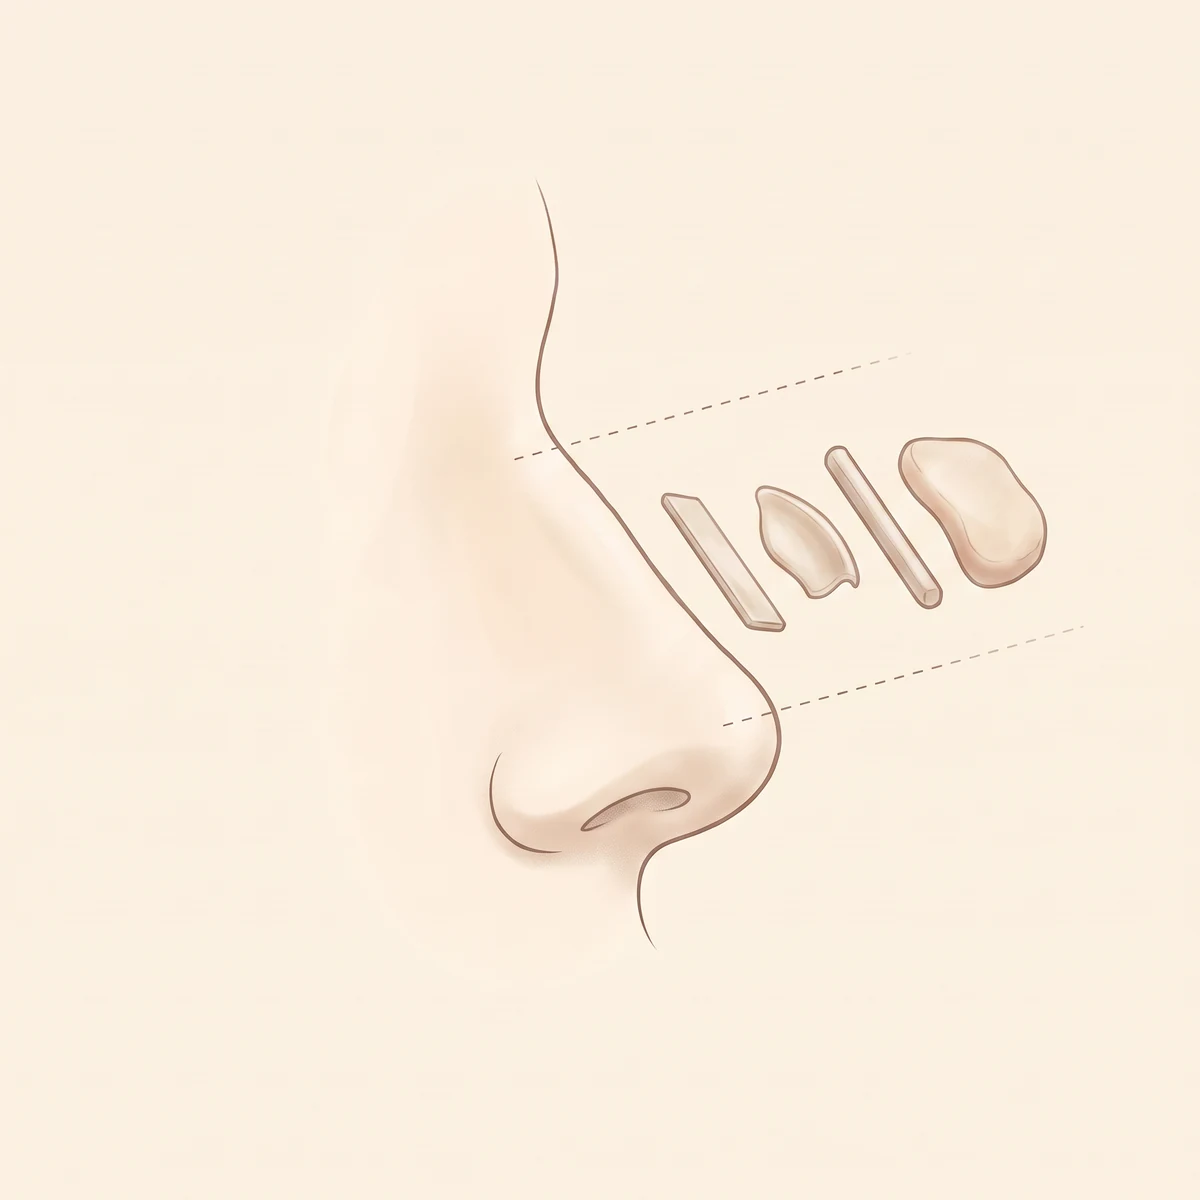
Cartilage · tissue selection
Cartilage for the tip and tissue for the bridge are chosen to suit your condition.
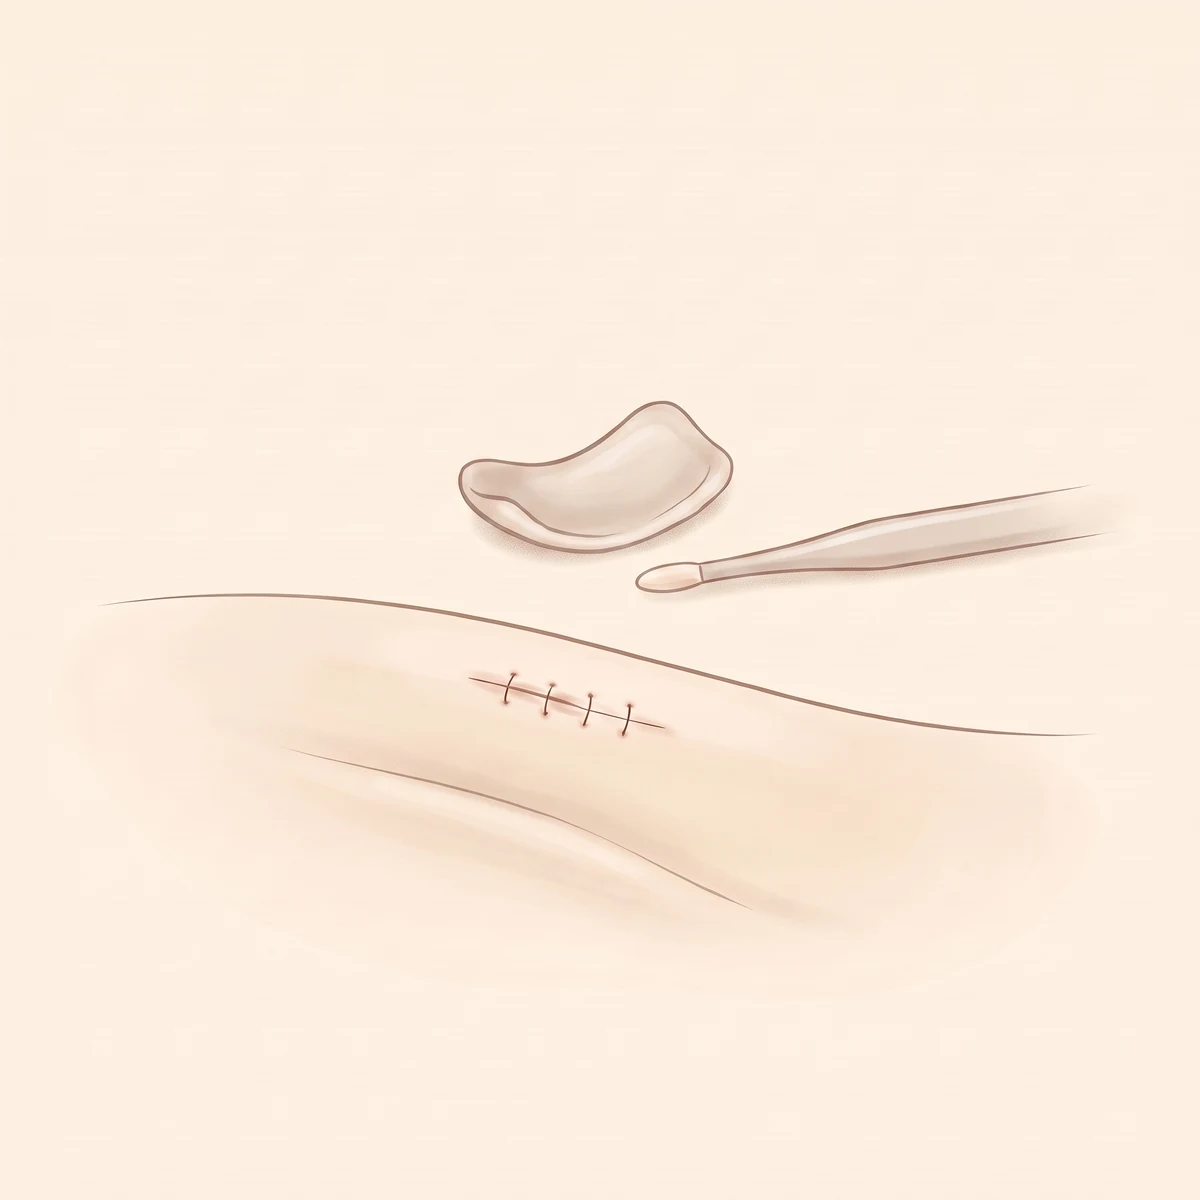
Harvest · closure
Tissue is harvested from the chosen site and the site closed precisely.
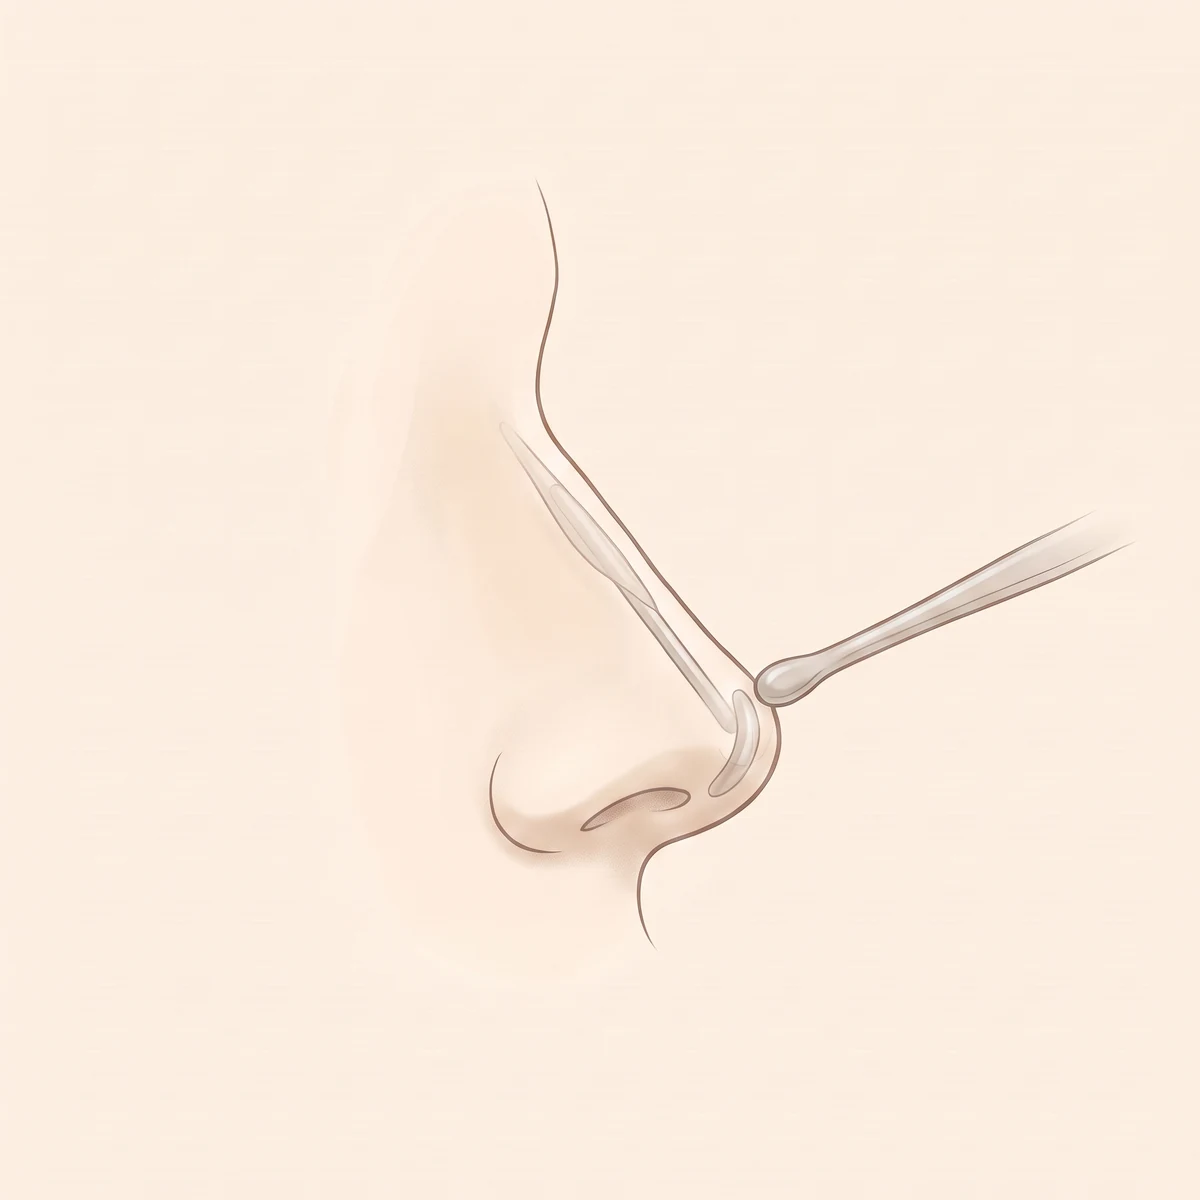
Design · graft
Cartilage and tissue are shaped to the nose and grafted to build the tip's support and the bridge.
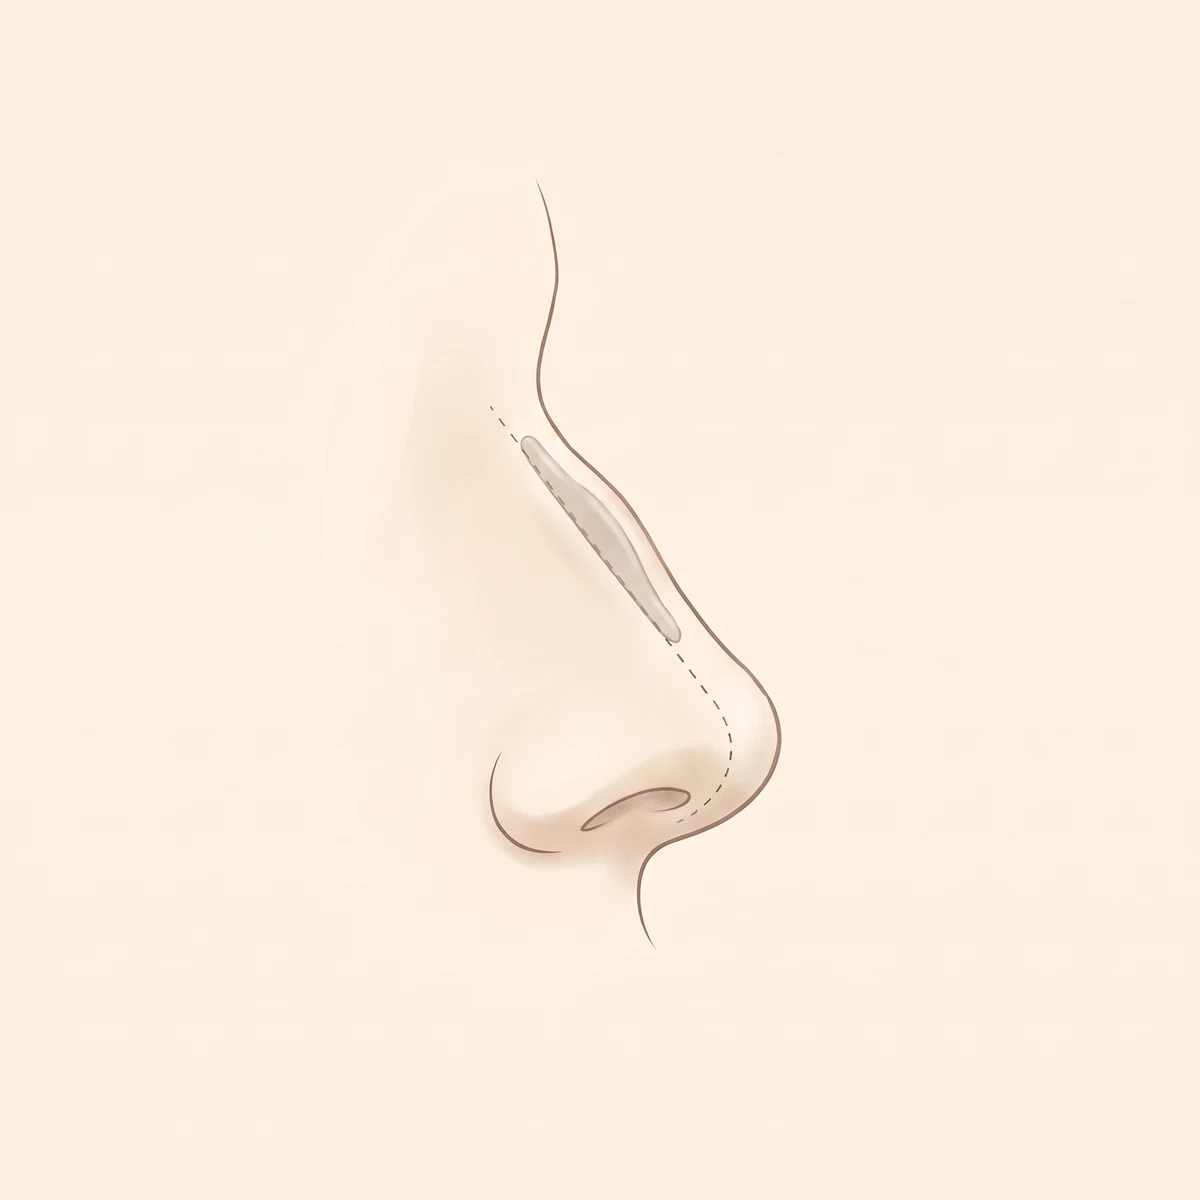
Closure · follow-up
Home the same day after closure and dressing, with 3 follow-up visits.
RECOMMENDED
If this sounds familiar, implant-free rhinoplasty comes first
- Aversion to artificial implants
- Worry about implant side effects
- Thin nasal skin
- A low bridge and a bulbous tip
- Functional problems such as septal deviation
AFTERCARE
Recovery guide
- Day of surgerySame-day discharge
Home after closure and dressing
- Harvest siteClosure check
Behind the ear or rib site checked
- Recovery periodExplained at consultation
Depends on cartilage and harvest site
- AfterwardsFollow-up
3 visits
Ear and rib harvests recover differently, so the expected schedule is explained at consultation.
0405
Nose Revision
Revision Rhinoplasty
Precisely corrects problems from a previous nose surgery
| Surgery time | Anesthesia | Suture removal | Daily life |
|---|---|---|---|
| approx. 2 hours | Sedation | after 5–7 days | after 5–7 days |
Same-day discharge · 1–2 follow-up visits · may vary with the extent of revision
NOSE REVISION
Because it's a redo, all the more carefully
Revision rhinoplasty is a surgery that corrects the problems of a previous nose surgery after diagnosing their cause and the current condition. Scar tissue, a remaining implant, thinned skin: conditions absent in the first surgery make it harder.
We diagnose the cause and the current condition precisely, then plan to the balance of the whole face.

CASE BY CASE
The method differs by the cause of the problem
Six representative cases. The actual method is confirmed after diagnosis.
Too high
The implant is replaced to suit the face, with autologous tissue at the tip to flow into forehead and chin.
Tip contracture
Scar tissue is released and the lifted tip brought down sufficiently to complete the shape.
Implant show-through
The implant is lowered or set deeper, and autologous dermis or fascia reinforces the thinned skin.
Deviated bridge
Asymmetry by osteotomy, septal deviation by cartilage correction, implant position by reinsertion.
Inflammation
Eased with medication early; if it persists, the implant is removed and treated, then revised.
Implant movement
Fixed to the periosteum or the damaged area reinforced so it does not move.
TIMING
Revision is usually done after 6 months have passed.
Results are better once the tissue has settled. Cases needing immediate action, such as inflammation, are the exception.
PROCESS
How revision rhinoplasty proceeds
Most of the time goes into diagnosis.
Cause diagnosis · timing
The first surgery's method and materials and the current skin, cartilage and implant are checked to judge the timing.
Material · method decision
Implant replacement or autologous conversion, and whether osteotomy or contracture release is needed.
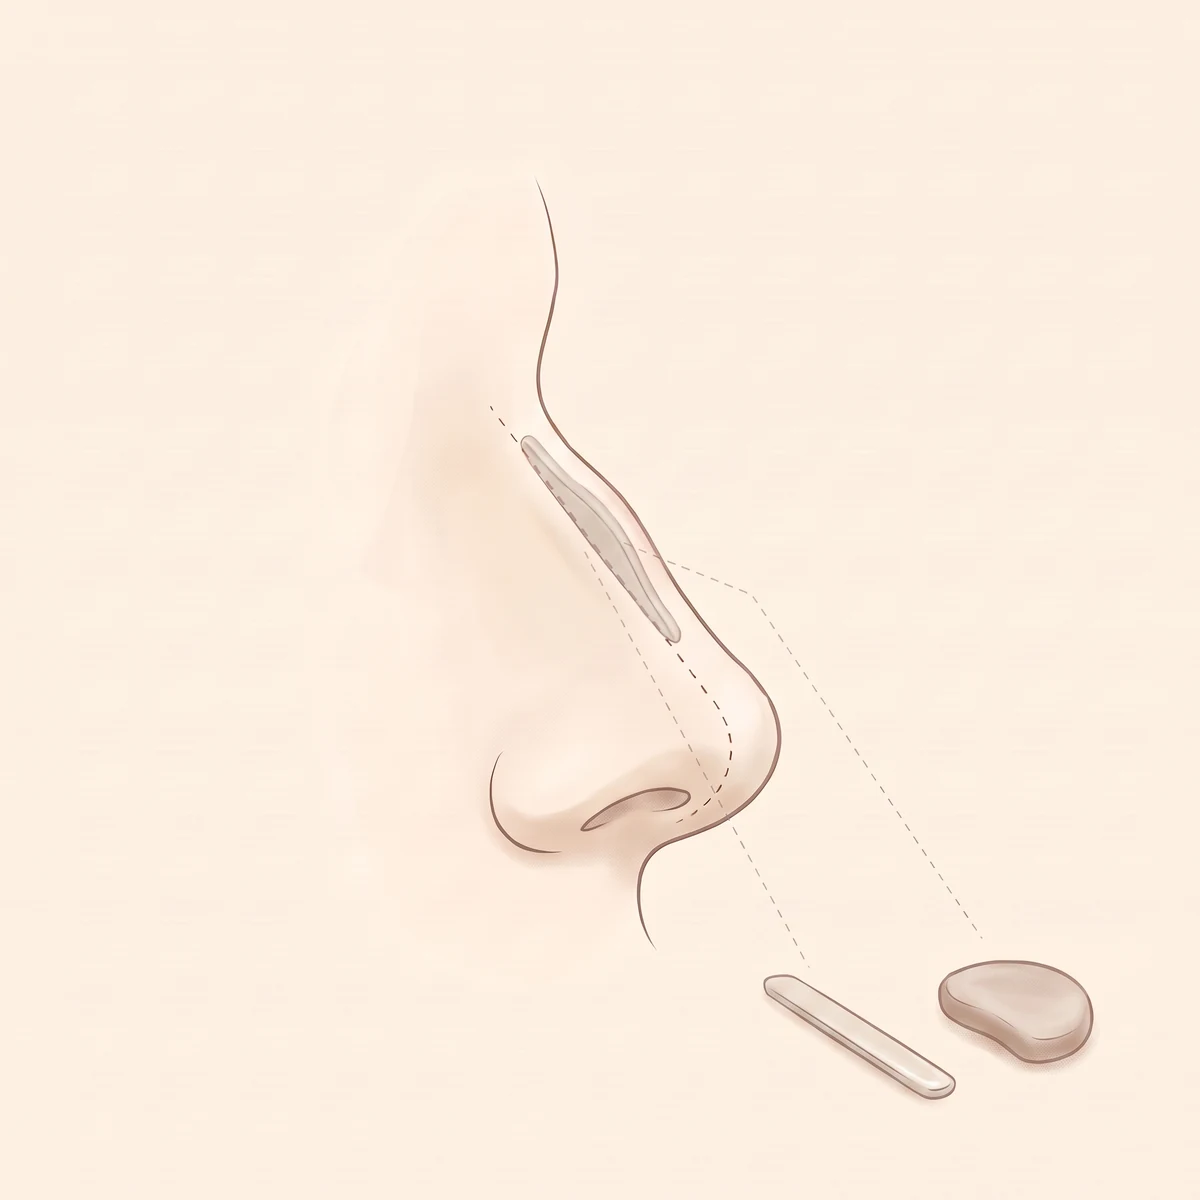
Surgery
Scar tidying, implant removal or replacement and autologous grafting, combined only as much as needed.
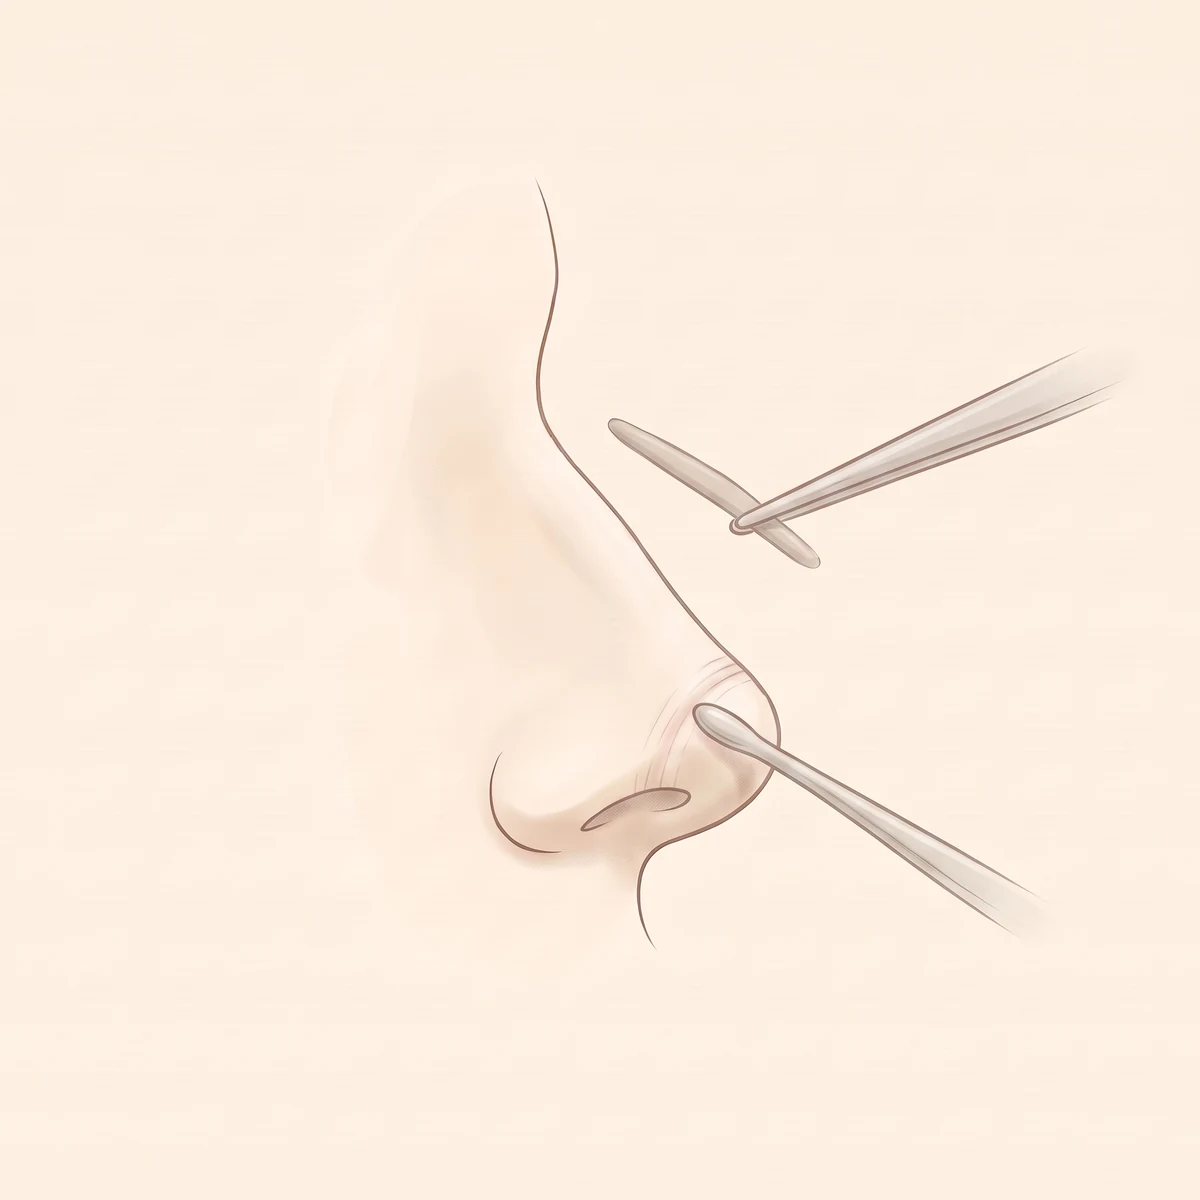
Closure · care
Home the same day; contracture revision needs care such as no smoking and massage, checked at your visits.
RECOMMENDED
If this sounds familiar, we consider revision rhinoplasty
- A nose too high and artificial-looking
- Thin skin that lets the implant show through
- A deviated bridge or uneven nostrils
- An upturned nose shortened by contracture
- A tip reddened by inflammation or an injectable
AFTERCARE
Recovery guide
- Day of surgerySame-day discharge
Home without a hospital stay
- 5–7 daysSuture removal
Incision checked
- After suturesDaily activities
Light daily activities begin
- AfterwardsFollow-up
1–2 visits · no smoking and massage after contracture revision
With osteotomy or contracture release recovery may take longer, and the pace varies by individual.
0505
Alar Reduction
Alarplasty
Naturally narrows wide nostrils
| Surgery time | Anesthesia | Suture removal | Daily life |
|---|---|---|---|
| 30 min | Sedation | 7 days | right after suture removal |
Same-day discharge · 1–2 follow-up visits · about 1.5–2 hours with bulbous tip correction
ALAR REDUCTION
Narrow the nose and the face tidies up
Alarplasty is a surgery that reshapes the alae to narrow the width of the nose. It brings dimension to a face that looked flat, and moves the face toward a youthful, triangular proportion.
The incision varies with the thickness and flare of the alae, and sits along the alar crease so the scar is hard to notice.

TOGETHER
Some lines are only completed together with rhinoplasty.
Nostril width is ideal when it equals the distance between the brows and stays narrower than the lips. Alarplasty sets tip shape and width, rhinoplasty the bridge height; together they bring dimension.
METHOD
Methods that differ with the state of the alae
The incision varies with the thickness and flare of the alae; a bulbous tip is treated by cartilage or fat depending on the cause.
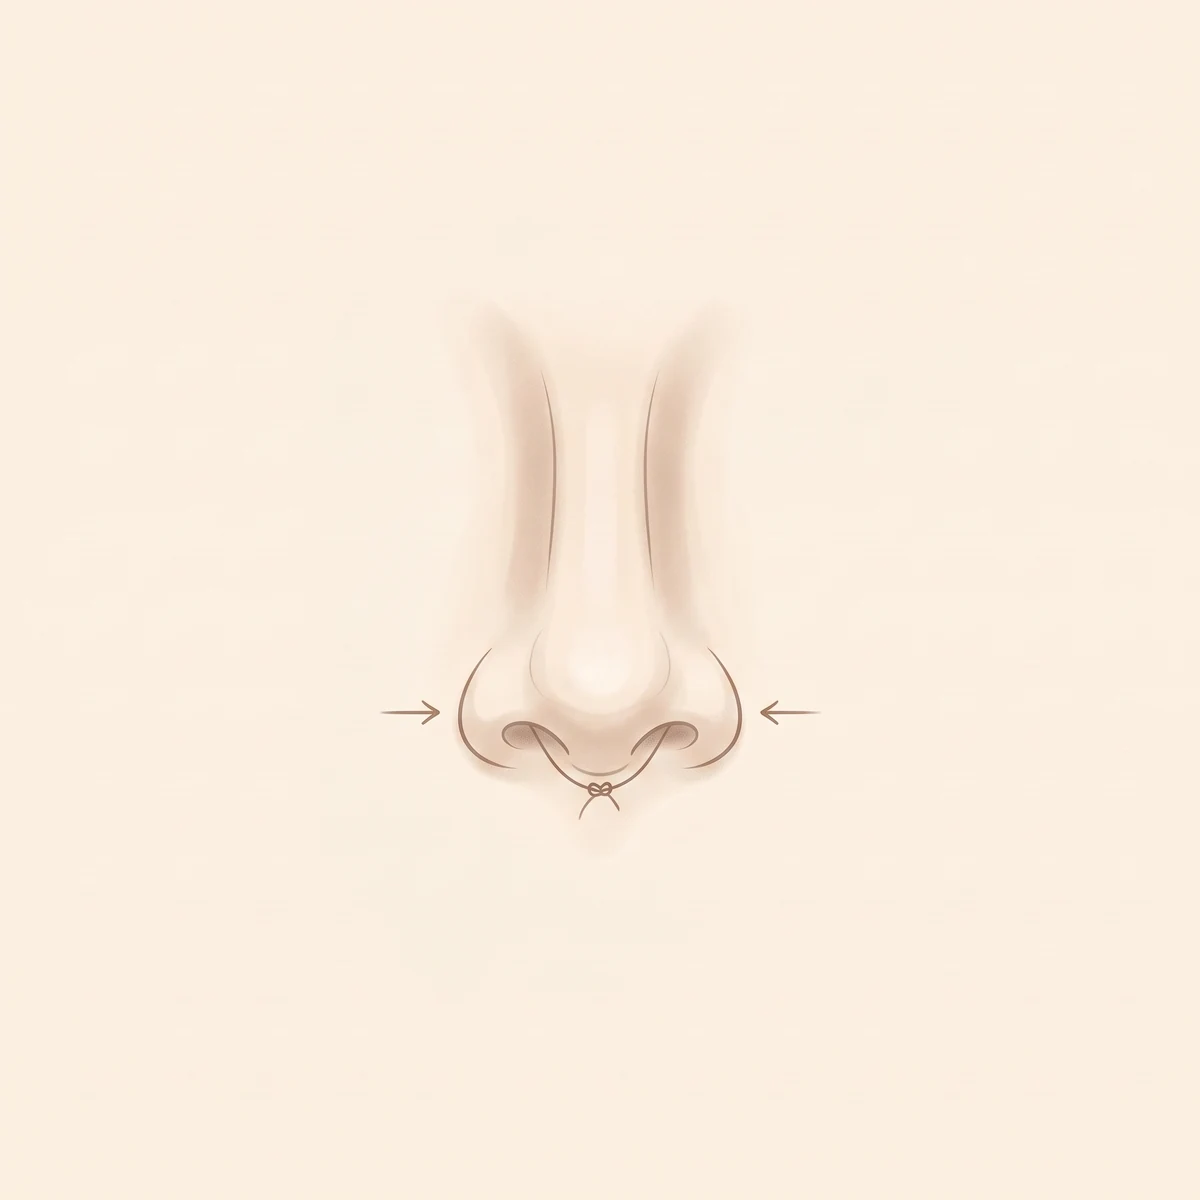
Cinching from inside
When only the lower nostrils are wide, a suture between the two nostrils draws the tip together.
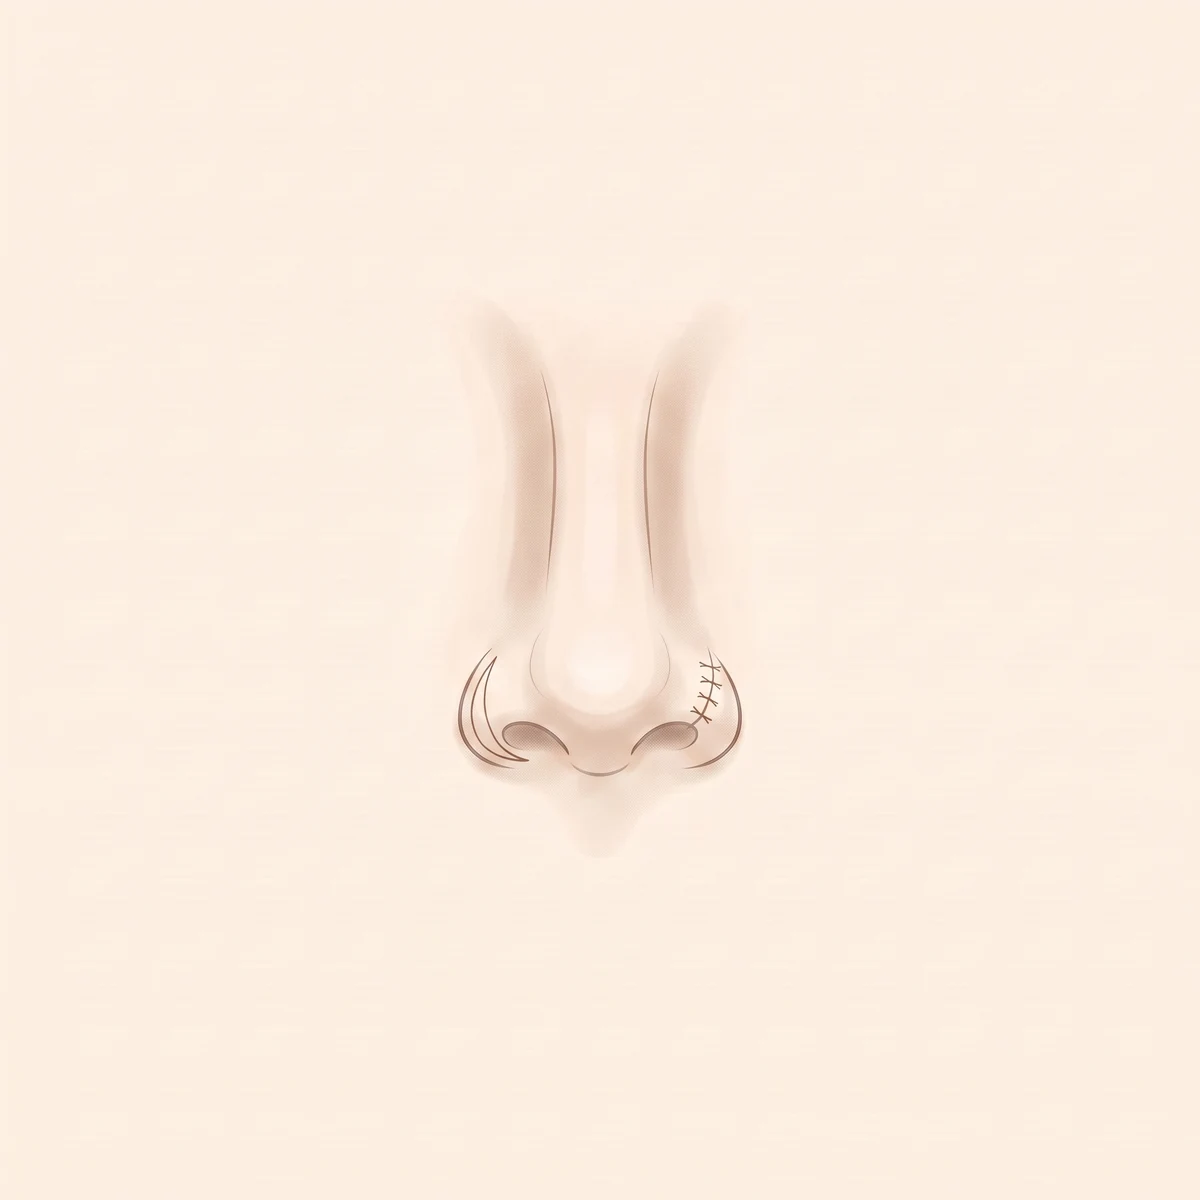
Excision under the alae
When the alar skin is thick, the lower part of both alae is excised and closed along the crease.
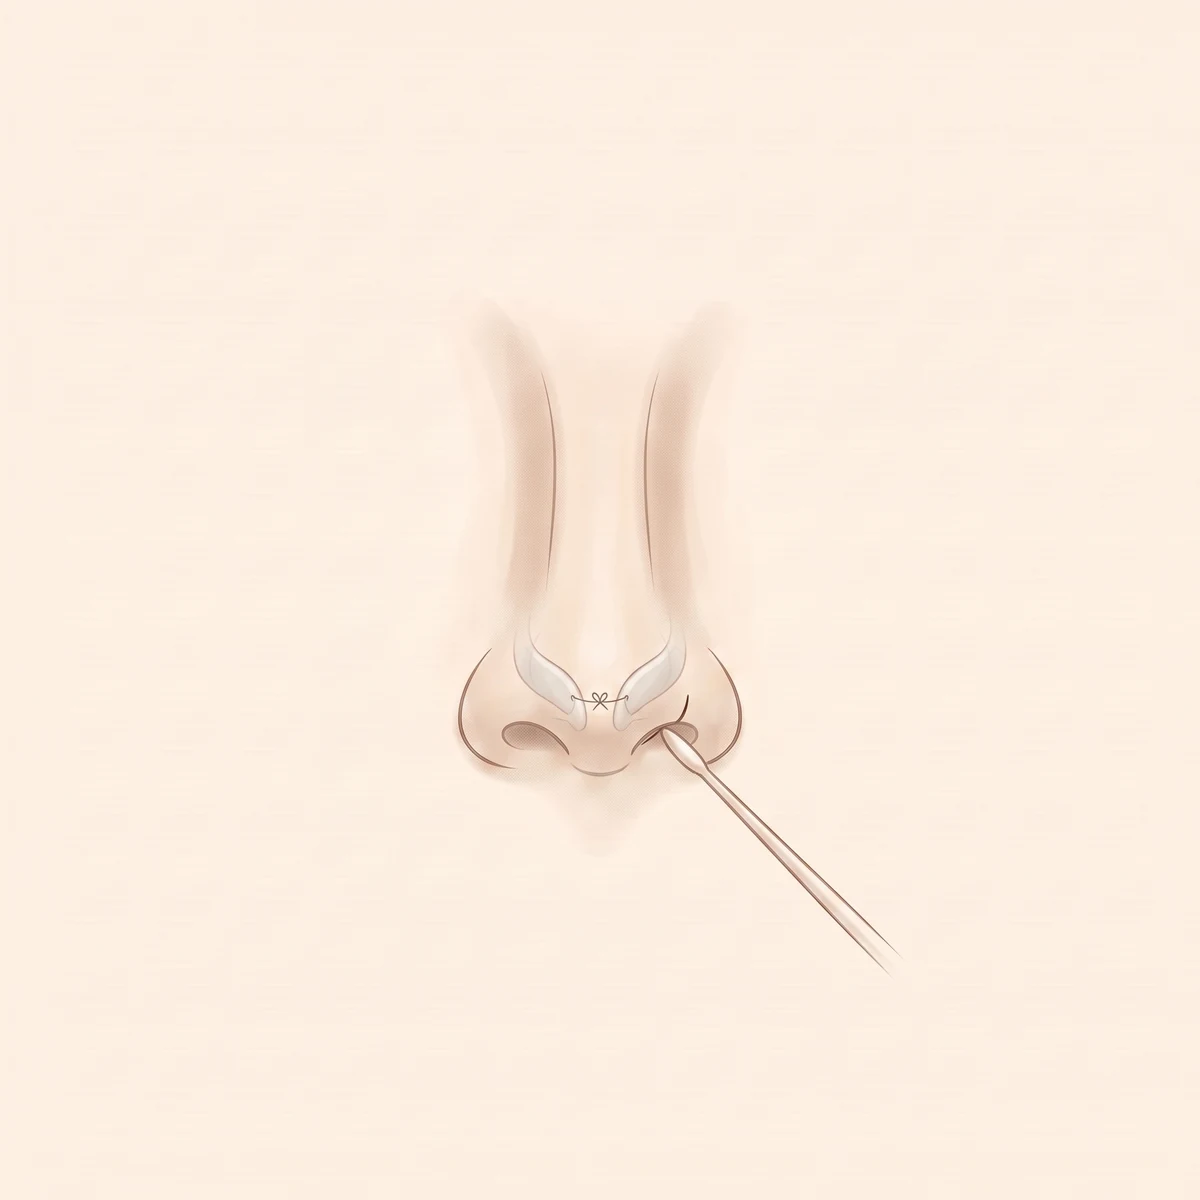
Bulbous tip · alar cartilage
When the alar cartilage is large or splayed, it is trimmed through an inner incision and tied together to slim the tip.
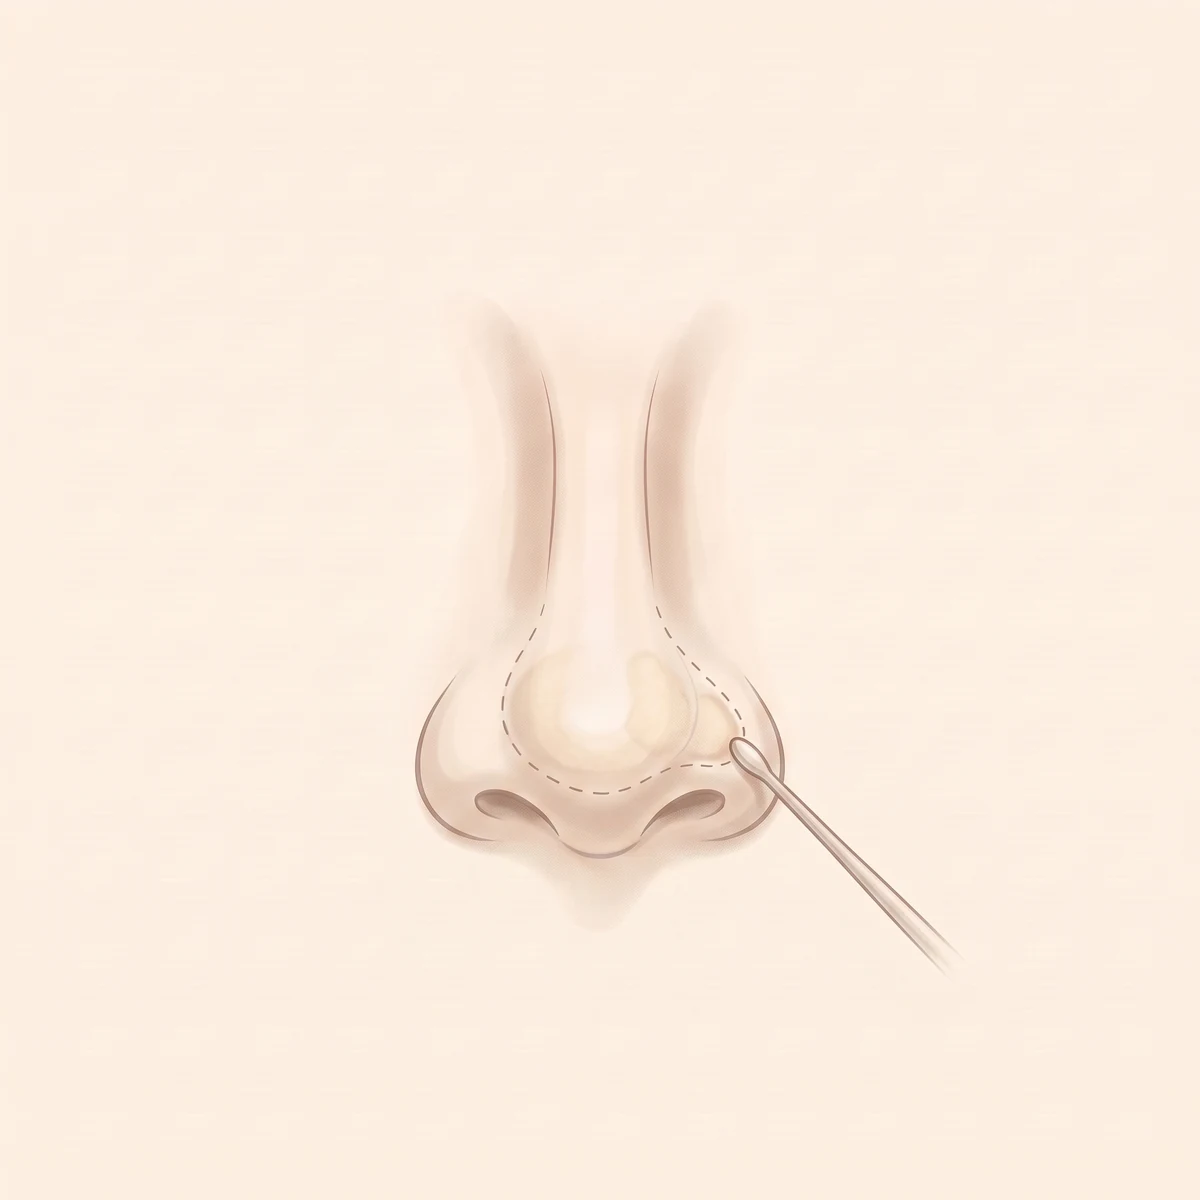
Bulbous tip · tip fat removal
When there is much tip fat and thick skin, the fat is removed to reduce the skin's thickness.
RECOMMENDED
If this sounds familiar, alarplasty comes first
- Wide nostrils that make the nose look flat and spread
- A nose that lacks dimension and looks low
- A high bridge but a tip that looks flared
- A bulbous nose with a round, blunt tip
- A tip wider than the nose itself
AFTERCARE
Recovery guide
- Day of surgerySame-day discharge
Home without a hospital stay
- 7 daysSuture removal
3–7 days with bulbous tip correction
- After suturesDaily activities
Light daily activities right away
- AfterwardsFollow-up
1–2 visits
With bulbous tip correction it takes about 1.5–2 hours, and the pace of recovery varies by individual.
OUR PRINCIPLE
Not the nose alone, but the whole face.
Height comes from the material, but naturalness comes from the design. We decide the material and the extent that suit that nose first.
NOSE ANATOMY GUIDE
Nose design in six areas
Each area calls for a different material and method, so at consultation we decide together where and how to treat.
 RadixBridgeTipNasal boneAlaeColumella
Radix
Height where the bridge begins · angle flowing from the forehead
Bridge
Height and line reinforced with a custom implant or autologous dermis · fat
Tip
Direction and shape set with septal · ear · rib cartilage as support
Nasal bone
Width and axis refined by lateral osteotomy for wide, deviated or hump noses
Alae
Width and tip flare refined by alarplasty · bulbous tip correction
Columella
Angle adjusted around a nasolabial angle of 95–105˚ between tip and philtrum
Rhinoplasty
Compare at a glance
Surgery time, anaesthesia and recovery side by side. Select a procedure name to jump to its section.
| Rhinoplasty | Autologous Rhinoplasty | Implant-free Rhinoplasty | Revision Rhinoplasty | Alarplasty | |
|---|---|---|---|---|---|
| Surgery time | 2 hours | approx. 2–5 hours | approx. 2–5 hours | approx. 2 hours | 30 min |
| Anesthesia | Sedation | Sedation | Sedation | Sedation | Sedation |
| Suture removal | after 5–7 days | Explained at consultation | Explained at consultation | after 5–7 days | 7 days |
| Daily life | after 5–7 days | Explained at consultation | Explained at consultation | after 5–7 days | right after suture removal |
| Visits | Same-day discharge · 2–3 follow-up visits · recovery may be longer with osteotomy | Same-day discharge · 3 follow-up visits · recovery depends on the harvest site, explained at consultation | Same-day discharge · 3 follow-up visits · recovery depends on the cartilage harvest site, explained at consultation | Same-day discharge · 1–2 follow-up visits · may vary with the extent of revision | Same-day discharge · 1–2 follow-up visits · about 1.5–2 hours with bulbous tip correction |
Visits
- Rhinoplasty
- Same-day discharge · 2–3 follow-up visits · recovery may be longer with osteotomy
- Autologous Rhinoplasty
- Same-day discharge · 3 follow-up visits · recovery depends on the harvest site, explained at consultation
- Implant-free Rhinoplasty
- Same-day discharge · 3 follow-up visits · recovery depends on the cartilage harvest site, explained at consultation
- Revision Rhinoplasty
- Same-day discharge · 1–2 follow-up visits · may vary with the extent of revision
- Alarplasty
- Same-day discharge · 1–2 follow-up visits · about 1.5–2 hours with bulbous tip correction